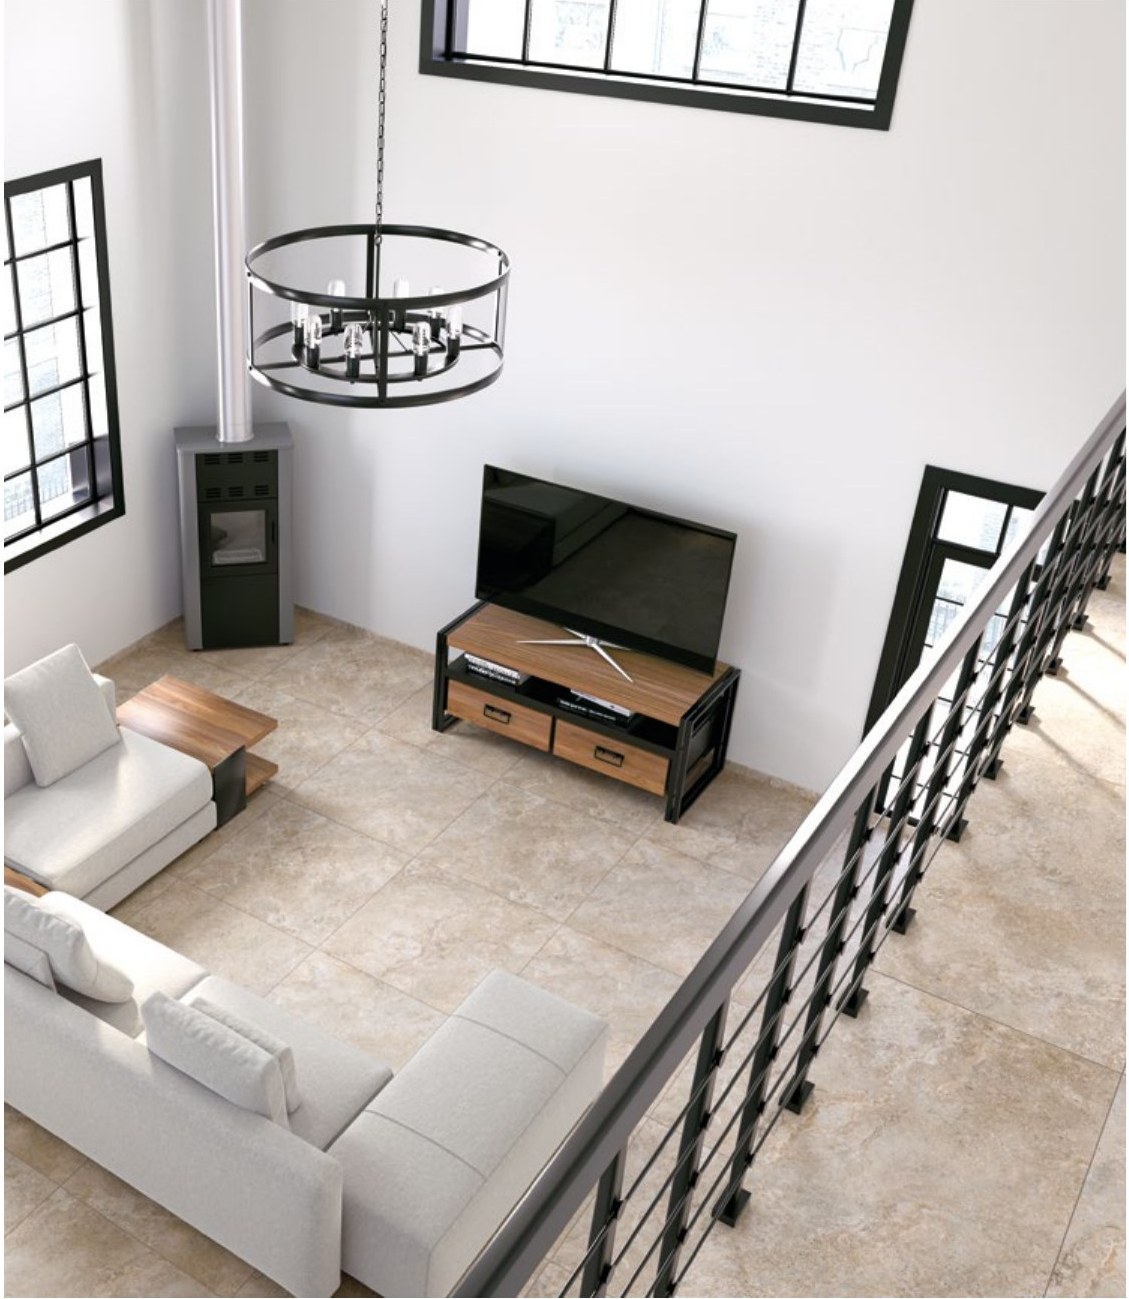
Yes, you can lay the same floor indoors and outdoors: many porcelain ranges come in a double thickness, 9 mm for inside the house and 20 mm for the terrace and garden, with the same colour and the same look. The result is a surface that continues past the glazing, with no change of material. Three things matter: levels and gradients planned before laying, the right anti-slip class outside, and a material that isn’t afraid of frost.
Why the same floor indoors and out changes how the house feels
When the living-room floor continues identically onto the terrace, the eye finds no boundary. The glazing stops being a transparent wall and becomes just glass: the room seems to end where the garden ends, not where the sofa ends.
It’s the same principle as large formats in small rooms: the fewer interruptions the eye sees, the more the space opens up. Here the interruption you remove is the biggest of all, the change of material at the threshold.
There’s a concrete financial side too. A terrace that looks like an extension of the living room is worth more than a terrace with just any floor: anyone coming into the house perceives extra square metres, and that counts when the property is sold or rented.
The same floor indoors and outdoors: what you really need
The key is choosing a range produced in double thickness. Inside the house goes the classic 9 mm version, glued to the screed like any floor. Outside goes the 20 mm version, designed specifically for outdoors: in our catalogue you’ll recognise it by the code C2O.
The colour and look are the same. What changes is the thickness, the surface (outdoors it’s structured, rougher to the touch) and the performance. Here’s the comparison:
| Feature | Indoor version (9 mm) | Outdoor version (20 mm) |
|---|---|---|
| Where it goes | Living room, kitchen, bedrooms, bathroom | Terrace, poolside, paths, garden |
| Surface | Natural or smooth | Structured, with more grip |
| Anti-slip | R9-R10 (DIN 51130 standard) | R11, suited to wet surfaces |
| Laying | Glued to the screed | Glued, or dry-laid on grass, gravel or supports |
| Frost resistance | Not required | Frost-proof, tested to ISO 10545-12 |
The advantage of the 20 mm is practical too: outside you can even lay it dry, without adhesive, resting on gravel or adjustable supports. If you want to see how it works, we’ve explained laying 20 mm porcelain on grass, gravel and screed in a dedicated article.
Levels and gradients: the detail that decides success
The “room that continues” effect only works if indoors and out the floor is at the same height, or nearly so. And here the work has to be done beforehand, not after: the levels are decided when the screeds are prepared, not when the tiles arrive.
The points to clarify with the tiler, plan in hand:
- Finished level. The outdoor floor must sit flush with (or a few millimetres below) the indoor one. Watch out: the 20 mm is thicker than the 9 mm, so the outdoor screed must be kept lower to compensate.
- Gradient away from the house. Outside, rainwater must run away from the glazing. You need a slight but constant gradient, invisible to the eye, which the tiler sets into the screed.
- Threshold and drainage. Between indoors and out you need a joint or a drainage channel in front of the glazing: it’s the guarantee that water won’t get into the house even in a heavy storm.
- Aligned grout lines. If the indoor and outdoor grout lines continue on the same line, the continuity is perfect. Ask for it explicitly: it’s done by starting the laying from the glazing, not from the back of the room.
None of these points is complicated, but they must be told to the tiler before he starts. Redoing a wrong level once laying is finished costs far more than planning it.
Outside you need anti-slip and frost resistance
The outdoor version of the range isn’t just thicker: it’s designed for conditions that don’t exist inside the house. The two markings to check on the technical sheet are the R class and frost resistance.
The R class measures slip resistance to the DIN 51130 standard. For terraces and poolsides you need R11: the structured surface grips the foot even when wet. Inside the house, by contrast, R9 or R10 are enough and are easier to clean. We’ve dedicated a full guide to which anti-slip class you need room by room.
This is why 20 mm porcelain stays outside all year round, from the mountains to the sea, with no maintenance: no treatments, no protective oils, it washes with water.
The indoor/outdoor pairs in our catalogue
Several ranges in our catalogue come in both versions. The most requested for the indoor-outdoor project:
- Dolomia Stone — dolomite-stone effect, light, natural tones. Inside in 9 mm, outside in the C2O 20 mm version: the most classic choice for villas and houses with a garden.
- Cortina Stone — Alpine stone with a stronger character, perfect if the terrace looks onto greenery. Here too, double thickness in the same colour.
- Caementum — a concrete effect for those who want a contemporary, minimal indoor-outdoor, with the structured outdoor version.
The stone effect is the most used in these projects for a simple reason: outside it looks natural, inside elegant, and it doesn’t jar in either direction. You can see all the ranges in the stone-effect category of the catalogue.
How to order without surprises: samples, calculation, single batch
A colour you love in the living room can change its face in direct sunlight. Before ordering, take the sample and look at it in both conditions: inside under the house lights, outside at midday and at sunset. Our sample costs €5 and we refund it on the order.
For quantities, calculate the two areas separately but order everything together: indoor and outdoor in the same order leave our warehouse with consistent batches, and the colour matches perfectly. On every product page you’ll find the calculator that converts m² into boxes; add 10% waste for straight laying, 15% if outside you choose a diagonal layout.
The continuous floor is decided on the drawing board: start here
To recap: the same range in double thickness, levels and gradients agreed with the tiler before the screeds, R11 and frost resistance outside, grout lines aligned on the glazing. Nothing difficult, but all to be decided beforehand.
The first concrete step costs little: choose two or three ranges from the stone-effect category and order samples. Look at them in the light of your terrace, then decide at your leisure. The glazing will do the rest.