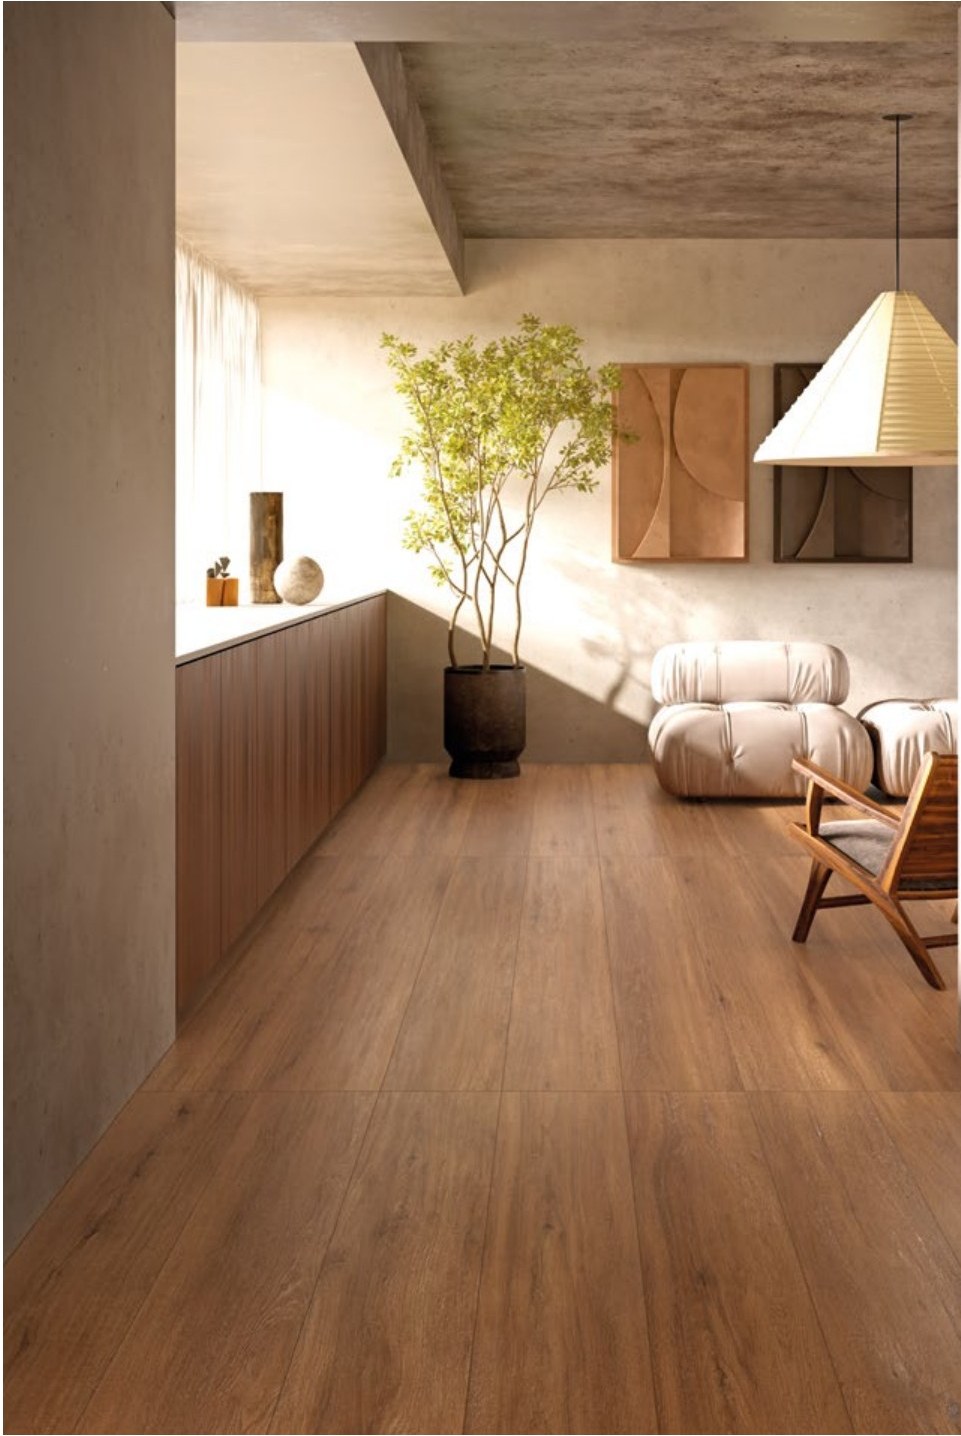
Porcelain stoneware absolutely can be laid in a herringbone pattern, and the result holds its own against real wood parquet. You need planks with a short side no more than a quarter of the long side (15×90 or 20×120 cm), and you should budget 15% waste instead of the usual 10%. The Italian herringbone is the easiest to install; Hungarian and French patterns call for angled head cuts and an experienced tile setter.
Why herringbone transforms a plain floor
The exact same porcelain tile, laid straight or in a herringbone, gives you two different rooms. A straight layout is tidy and quiet. Herringbone creates movement: the planks interlock in a zig-zag and the eye follows the pattern, not the grout lines.
That’s why you find herringbone in historic buildings and carefully renovated flats: it signals work done well. And with wood-effect porcelain you can take it where real parquet struggles: bathroom, kitchen, entryway. Same pattern, zero fear of water.
The flip side is that herringbone costs more in both labour and material. Not enough to talk you out of it: just enough that you’ll want to know beforehand. Let’s look at the real numbers.
Italian, Hungarian or French: the three herringbones compared
“Herringbone” isn’t a single pattern. There are three main variants, and the difference lies in how the heads of the planks meet.
Italian herringbone: the planks stay rectangular and whole, interlocking at 90 degrees to form a repeated “L”. It’s the classic herringbone, the one almost everyone pictures. No head cuts required: you lay the planks straight out of the box.
Hungarian herringbone: the plank heads are cut on the diagonal, so two planks meet point to point and form a continuous “V”, with a perfectly straight joining line running the length of the room. Extremely elegant, but every plank has to be cut.
French herringbone: same principle as the Hungarian, with a different cutting angle that opens or closes the “V” pattern. Here too, head cuts on every piece.
| Herringbone type | Head cuts | Visual effect | Installation difficulty on porcelain |
|---|---|---|---|
| Italian | None: whole planks at 90° | Classic, lively zig-zag | Medium: demanding but standard |
| Hungarian | Yes, on every plank | Continuous “V”, straight point lines | High: many cuts, needs an experienced setter |
| French | Yes, on every plank | More open “V”, relaxed pattern | High: like the Hungarian |
Our practical advice: on porcelain, start with the Italian herringbone. It looks great, needs no head cuts and any serious tile setter knows how to do it. Hungarian and French are stunning, but on porcelain every diagonal cut means time, worn-out discs and pieces to bin: only go for them if your setter has already done them on porcelain, not just on wood.
Which formats work for herringbone porcelain
Not every plank lends itself to it. The rule we use in the showroom is simple: the short side must not exceed a quarter of the long side. Below that ratio the pattern “turns” nicely; above it, the herringbone looks stubby and loses its rhythm.
- 15×90 cm: the most balanced plank for herringbone, works in almost any room.
- 20×120 cm: a borderline but valid ratio, a wider and more modern herringbone, best in rooms over 15-20 m².
- 7.5×45 or 10×60 cm: a tight herringbone, traditional parquet look, also excellent in small rooms.
Two touches that make the difference. First: choose a rectified plank, meaning one with edges trimmed straight after firing, so the grout line drops to 2 mm and the pattern stays clean — we cover this in our guide to rectified tiles and minimum grout lines. Second: if the series has high shade variation (V3-V4), have the planks mixed from several boxes during installation, so the tonal variations spread across the pattern instead of clustering in patches.
Waste rises to 15%: how to calculate how much to order
With a straight layout you add 10% extra material for cuts and breakages. With herringbone, as with any diagonal layout, the correct allowance is 15%: along the walls every row closes with an angled cut, and the half plank left over almost never gets reused on the other side.
The calculation is this:
- Measure the surface to be tiled: for example 18 m².
- Add 15%: 18 × 1.15 = 20.7 m².
- Round up to whole boxes: if one box covers 1.08 m², you need 20 boxes.
Skimping on this step is the classic mistake that costs dearly: if the material runs out halfway through the job, the extra box may arrive with a different firing shade. You’ll find the full reasoning, reorders included, in our guide to calculating tiles, boxes and waste. And on every product page of our site there’s the m²⇄box calculator: enter the square metres, select the herringbone layout and it gives you the right number of boxes, with 15% waste already included.
Installation cost: what to ask the setter before signing
Herringbone costs more than a straight layout, usually noticeably so: more setting out, more cuts, more time. That’s normal. What isn’t normal is finding out once the job has started. Before accepting a quote, ask these questions:
- Is the price per m² specific to a herringbone layout? A “standard” quote almost certainly doesn’t include it.
- Have they already laid porcelain in herringbone, not just parquet? Porcelain is cut with different tools and takes different time.
- Who makes the head cuts, if you choose Hungarian or French? And with what equipment?
- What grout width do they propose? With rectified planks, 2 mm is the standard for a clean pattern.
- How do they orient the herringbone? The classic rule: the points follow the direction of the main light source or the room’s entrance axis. Decide it together, on the floor plan, before the first piece is glued.
- Is the screed ready? Herringbone highlights every unevenness: you need a properly finished setting bed.
Which effect to use: wood is still king
Herringbone was born with wood, and wood-effect porcelain remains the most natural choice. In our catalogue the Firenze series is the typical candidate: the plank in the Tortora shade laid in Italian herringbone warms the living room without darkening it. If you want a more Nordic, whitewashed wood, look at North Wind; for a textured oak, Woodland.
It also works beautifully in the bathroom, where real parquet would never go: short planks, tight herringbone, and the room feels like a spa. We’ve devoted a whole guide to wood-effect porcelain in the bathroom, with the pairings we recommend most often.
Nothing stops you from being bold: a concrete- or resin-effect plank laid in herringbone gives a contemporary and unexpected result. But if it’s your first herringbone, wood is more forgiving: the grain masks the perimeter cuts and the pattern stays centre stage.
Where to start: sample, calculation, quote
To recap: choose a plank with a short side within a quarter of the long side, start with the Italian herringbone, order with 15% waste and insist on a written installation quote for that specific pattern. Do that, and herringbone is the layout that gives you the most character for the extra spend.
The first concrete step costs little: browse the wood-effect porcelain category, pick two or three candidate planks and order a sample for €5, which we refund on your first order. Touching the surface and trying it in the light of your own home is worth more than any photo. Then measure the room, open the calculator on the product page and the number of boxes is ready. The goods ship from our warehouse on a pallet, with the pattern of your new floor already inside.
