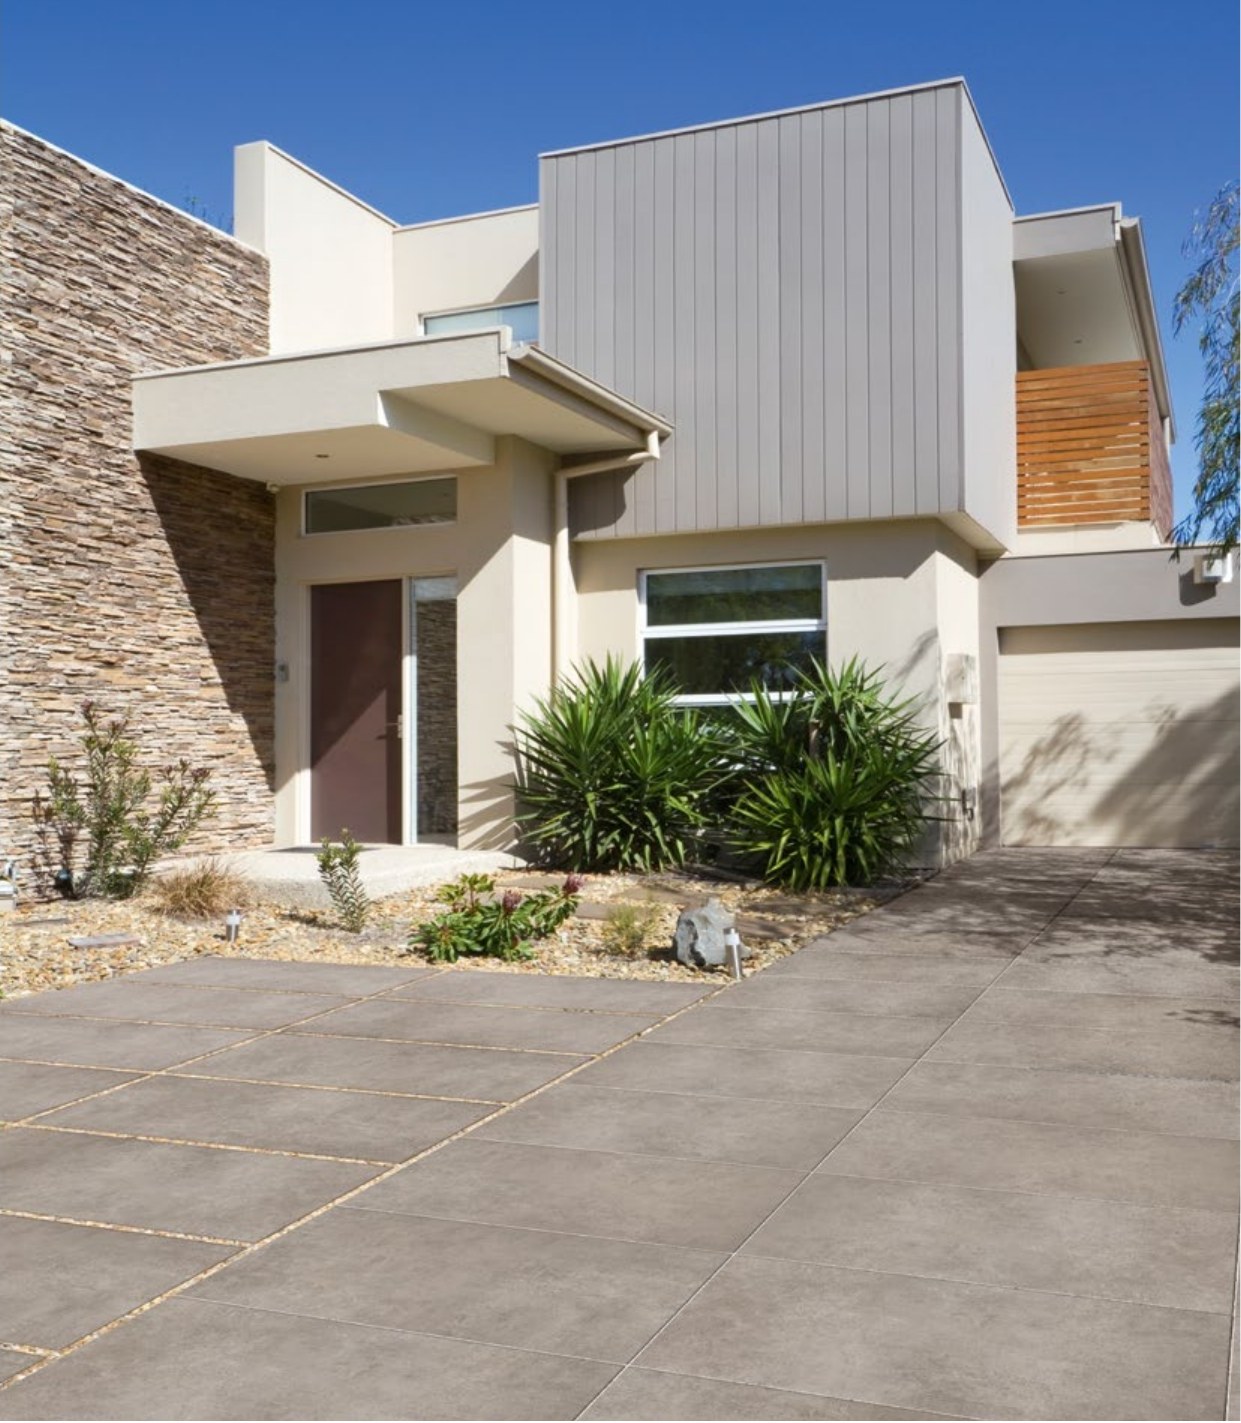
20 mm outdoor porcelain stoneware can be laid in three ways: dry on grass and gravel (no adhesive, no screed), on adjustable pedestals for terraces, or glued onto a screed. It is frost-proof by standard (ISO 10545-12) and, only when glued onto a suitable substrate, it can even take the weight of a car.
If you’re doing up a garden, a path or a terrace, 20 mm is the simplest answer porcelain has ever given to outdoor use. Double-thickness tiles you can lay straight onto the lawn, with no cement, no adhesive, no building site. Let’s look at when it makes sense, how it’s laid, and where a screed is needed instead.
9 mm or 20 mm: what really changes outdoors
Traditional floor porcelain is 9-10 mm thick. It works perfectly well outdoors, but with one condition: it must always be glued onto a screed. On its own it doesn’t have the rigidity to bear loads resting on the ground.
20 mm doubles the thickness and changes the rules. The slab becomes so rigid and heavy that it stays put by gravity: you can rest it on grass, gravel or pedestals without fixing it. The material is the same porcelain stoneware, with the same surface and the same graphics as the thin version.
This opens up an extra possibility: many series exist in both thicknesses, in the same colour. Indoors you lay the 9 mm glued down, outdoors the 20 mm, and you get the continuity of the same floor between home and terrace with no visible break.
20 mm outdoor porcelain stoneware: the three installation methods compared
There is no single “right” way to lay it: it depends on what’s underneath and what has to pass over it. Here’s the full picture.
| Installation | Where it’s used | Advantages | Limits |
|---|---|---|---|
| Dry on grass or gravel | Gardens, paths, walkways, poolsides on ground | Zero adhesive and zero screed, you can do it yourself, reversible: move or reclaim the slabs whenever you want | Foot traffic only; the ground must be prepared and levelled |
| On adjustable pedestals | Terraces and roof decks with membrane, raised floors | Water flows underneath, cables and pipes stay accessible, it dismantles piece by piece | Foot traffic only; needs a solid laying surface and careful planning of the heights |
| Glued onto screed | Courtyards, ramps, outdoor garages, car access areas | Maximum load resistance: correctly laid it becomes drivable | Needs a screed with correct falls, outdoor adhesive and a tiler; it is not reversible |
The highlighted row is the one that surprises people coming from the world of traditional tiles the most: dry installation. It’s the reason 20 mm was created.
Dry installation on grass and gravel: how it’s done, step by step
Dry installation is within reach of anyone with a spade and a spirit level. On the lawn, for a walkway of spaced slabs, the steps are these:
- Rest the slab where you want it and cut the outline into the ground.
- Dig 5-6 cm and lay a bed of fine gravel or sand, compacting it.
- Reposition the slab and check it with the level, leaving it just above the line of the grass so you can pass over it with the mower.
- Tap it with a rubber mallet to settle it.
On gravel the principle is the same but over a continuous surface: you mark out the area, spread and compact the gravel, and lay the slabs with an open joint of a few millimetres. The joint is not grouted: it lets rainwater through, which drains into the ground. No puddles, no falls to calculate.
Two points to watch. First: stability depends entirely on the preparation of the base, so don’t skimp on the compaction. Second: outdoors the surface must grip even when wet. The 20 mm versions come with a structured finish, typically R11: if the codes mean nothing to you, we’ve explained what R9, R10 and R11 mean and which anti-slip rating you need outdoors.
Frost resistance: what the ISO 10545-12 standard guarantees
The classic question: “and in winter won’t it crack?”. No, and it’s not a marketing promise: it’s a property of the material, verified by a standardised test.
Frost breaks materials in only one way: water gets into the pores, freezes, expands and levers from the inside. Porcelain stoneware has extremely low water absorption, no higher than 0.5% (measured according to ISO 10545-3): the water simply finds no room to get in. That’s why it passes the frost-resistance test and is suitable even in the mountains.
It’s a concrete difference compared to terracotta and some porous stones, which after a few winters outdoors can flake at the surface. You’ll find the frost-resistance figure declared in the technical data sheet of every one of our outdoor products.
Drivability: what can pass over it (and what can’t)
Here we need to be clear, because “20 mm is drivable” put like that is a half-truth. Load resistance doesn’t depend on the slab alone: it depends on how it’s laid.
- Laid dry on grass or gravel: foot traffic only. People, wheelbarrows, the mower. Never a car: on a yielding base the slab flexes and can break.
- On pedestals: foot traffic only, always. There’s a void beneath the slab.
- Glued onto a suitable screed: here yes, the 20 mm becomes drivable for cars and light vans, typically in compact formats like 60×60. The load is transferred to the screed and the tile only works at the surface.
Rule of thumb: if a vehicle has to drive onto the floor, there is only one installation, glued. For everything else — walkways, outdoor dining areas, poolsides — dry installation is more than enough.
Maintenance: the comparison with natural stone
An outdoor floor lives under rain, leaves, soil and sun. Natural stone is beautiful, but the porous kind demands periodic protective treatments, is prone to stains from leaves and smog, and over time can host moss deep down.
20 mm porcelain doesn’t. The surface doesn’t absorb, so there’s nothing to impregnate or seal: water and a neutral detergent, and for seasonal cleaning even a pressure washer. Moss can veil the surface in the shade, but it stays on top and comes away with a wash, because it has no pores to root into. The colour doesn’t fade in the sun.
If you want the look of stone without these worries, in our catalogue the stone-effect series such as Dolomia Stone and Cortina Stone also exist in the C2O version, that is in the double 20 mm thickness designed for outdoors: same graphics as the indoor version, outdoor body.
Where to start: sample, calculation, order
The sensible path is in three moves. First: order a sample for 5, refunded with a voucher on your first order, and look at it in the real light of your garden, not that of a screen. Second: measure the area and use the m2 <-> boxes calculator you’ll find on every product page, keeping 10% wastage for cuts (15% if you’re planning a diagonal installation). Third: order everything at once, so the slabs arrive from the same batch and the same shade.
The slabs leave our warehouse on a pallet, with costs stated clearly on the shipping costs page before you order. You can browse all the tiles in the catalogue and filter by 20 mm thickness: you’ll find stone, wood and concrete effects, all frost-proof and ready for dry installation.