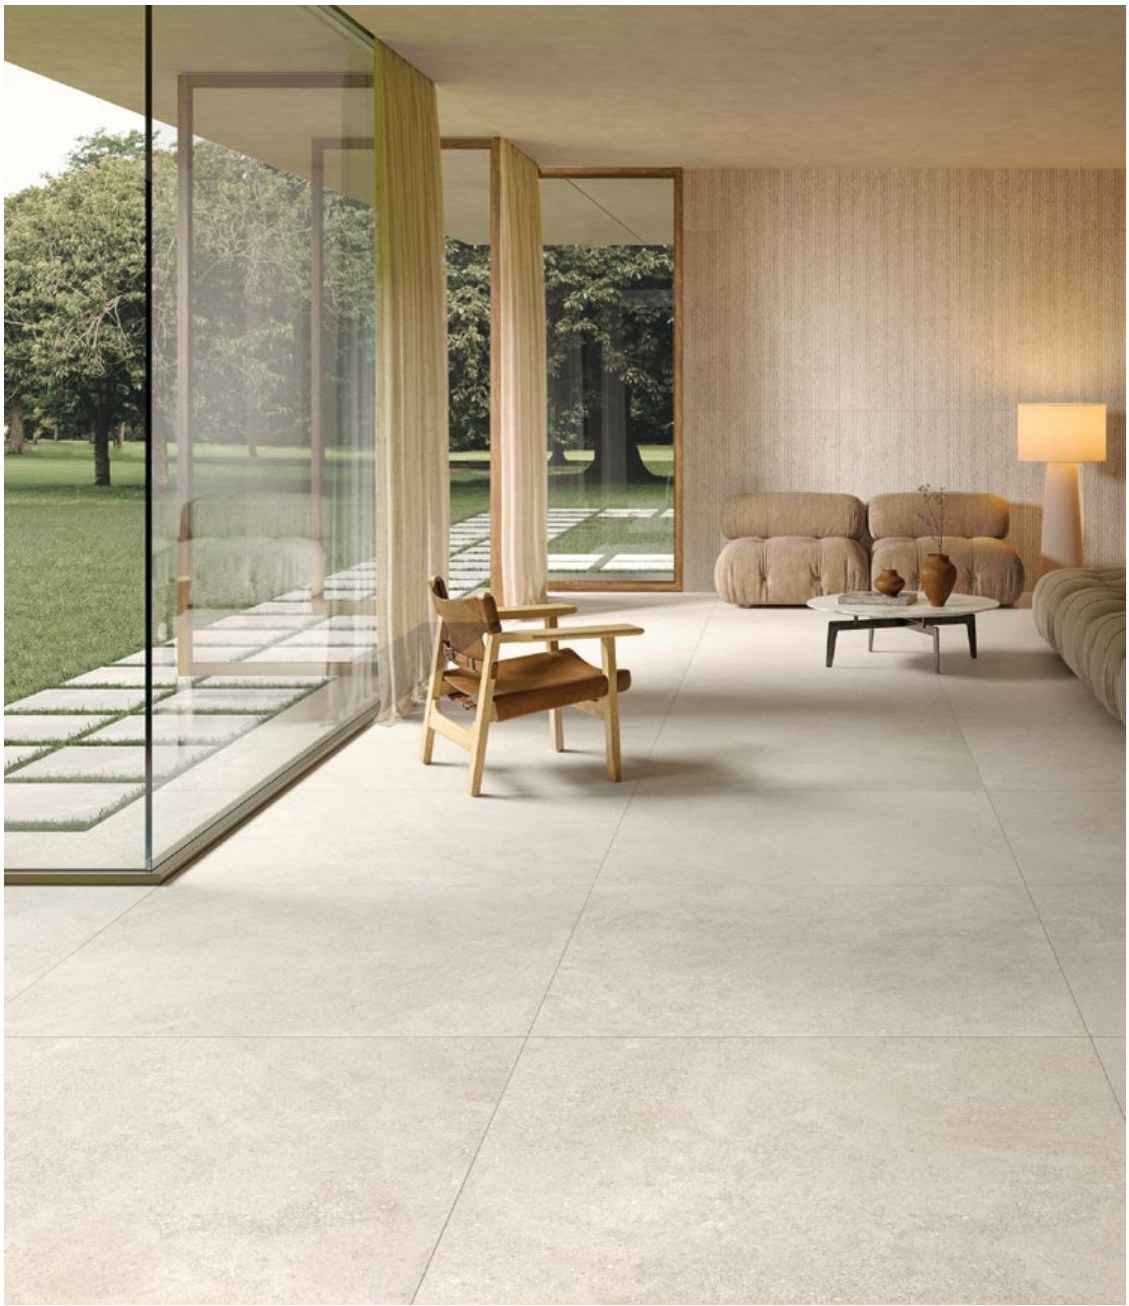
Against your instinct, large-format tiles in a small room don’t shrink it: they open it up. Fewer pieces means fewer grout lines, and fewer grout lines means less visual grid breaking up the floor. A 61×122 or a 122×122 laid well makes a 5 m² bathroom look wider than it really is.
Why large-format tiles make a small room feel bigger
The eye doesn’t measure metres: it counts reference points. On a tiled floor, the reference points are the grout lines. Every line of grout is an interruption that tells your brain “one piece ends here, another begins here”.
With a small format, like the classic 30×30, a 6 m² bathroom turns into a sheet of graph paper: dozens of horizontal and vertical lines that fragment the surface. The result is the grid effect, and the grid shrinks the space.
With a large format the opposite happens. Few pieces, few grout lines, an almost continuous surface: your gaze glides from wall to wall without tripping. The room looks wider, deeper, tidier. It’s the same principle by which a painted wall looks bigger than one covered in a busy patterned wallpaper.
There’s also a practical advantage nobody mentions: fewer grout lines means less grout to clean over the years. In a bathroom and a kitchen, that’s no small detail.
How much grout you really save: the numbers on a 6 m² bathroom
Let’s do the maths on a real room, a 3×2 metre bathroom. Changing only the format, here’s how many pieces you need and how many linear metres of grout end up on your floor.
| Format | Pieces (approx.) | Metres of grout (approx.) | Effect in the small room |
|---|---|---|---|
| 30×30 | 67 | 40 m | Dense grid, fragments and shrinks the space |
| 60×60 | 17 | 20 m | Neutral, the classic that neither adds nor takes away |
| 61×122 | 8 | 15 m | Continuous surface, cuts still manageable: the best compromise |
| 122×122 | 4 | 10 m | Maximum continuity, but demanding cuts and handling |
Going from 30×30 to 61×122 cuts your grout metres from 40 to 15: more than half of the “grid” disappears. That’s the trick, and as you can see it’s not an opinion: it’s geometry.
The honest limits: doorways, cuts and the cost of laying
Large format in a small room works, but it isn’t free. Three things to know before you order.
- Almost every piece has to be cut. In 6 m² with fixtures, a doorway and maybe a shower niche, it’s rare to lay a whole slab without touching it. Cutting a large piece takes a cutting bench and a steady hand: if the cut goes wrong, you throw away a whole slab, not a little tile.
- Laying costs more per m². Large slabs are handled by two people, often with suction cups, and require double buttering of adhesive. In a tight bathroom, even just turning a 122×122 slab is a manoeuvre. Ask your tiler for a quote specific to the format, not the standard rate.
- The screed has to be flat. A large slab won’t forgive dips: where the substrate is uneven, the piece “rocks” or a step stays visible between one slab and the next. If the existing floor is out of level, budget for a self-levelling skim.
On quantities, the rule doesn’t change: 10% waste for straight laying, 15% if you lay on the diagonal. With large formats never go below these thresholds, because every cutting mistake weighs so much: you’ll find the complete method in our guide to calculating tiles, boxes and waste.
Minimal grout: large format performs best when it’s rectified
The few-grout-lines trick really works when the grout lines, as well as being few, are thin. And here a word comes into play that you’ll find on all our technical sheets.
A rectified 61×122 laid with a 2 mm grout line in the same colour as the tile makes the lines almost vanish: standing up, the floor looks like a single surface. The same non-rectified format, with a 4-5 mm grout line, gives back half the effect.
Rectified costs a little more and demands a precise tiler: if you want to understand when it’s worth it and when it isn’t, we’ve dedicated a guide to the subject on rectified or not, minimal grout lines and when it’s worth it.
One last tip: choose tone-on-tone grout, that is the same colour as the tile. Contrasting grout (light tile, dark grout) redraws the grid you just paid to remove.
Colours, surfaces and plank orientation
The format does half the job; colour and laying direction do the other half.
- Light opens up, but it isn’t mandatory. A light, matt large format reflects light and amplifies the effect: a light marble like those in our catalogue’s Athena series, in 122×122, is the safest choice for a small bathroom. The medium grey of a concrete-effect like Caementum works well if the walls stay light. Dark can be done, but only with good natural light and bright walls, otherwise it closes the space in.
- Matt or soft finish, not glossy. Gloss reflects the windows and every reflection is another visual interruption. On top of that, in a bathroom, matt is less slippery.
- Lay the plank along the depth. If you choose a wood-effect in long planks, orient it towards the point furthest from the entrance, or towards the window: the lines lead your gaze and “stretch” the room. It works beautifully in bathrooms, and you’ll find everything on using wood in a damp environment in the guide to wood-effect porcelain in the bathroom.
- Same tile on the wall, if the budget allows. Carrying the same large format from the floor up onto the shower wall also removes the floor-to-wall break: the visual box of the room dissolves.
If you love marble, start from our marble-effect category: that’s where large formats give their best, because the veining runs uninterrupted from one end of the slab to the other.
Where to start: sample, calculation and the right tiler
To sum up: in a small room large format opens the space up, provided you choose a rectified tile, a thin tone-on-tone grout line, a colour that doesn’t close the room in and a tiler who knows how to handle the format.
- Order the sample first. On each of our product pages you request it with one click: it costs 5 € and we credit it back to you against your first order. Look at it in the real room, in real light, resting on the floor.
- Work out the boxes with the right waste. The m²⇔boxes calculator on every product page adds the waste and rounds up to the whole box: in a room full of cuts it’s the difference between finishing the job and chasing down a different batch.
- Show the format to your tiler before confirming. A quote made on the real format avoids surprises on site.
When you’re ready, browse the full catalogue: on every sheet you’ll find format, rectification and all the technical data already spelled out, so you can make your comparison in five minutes from the sofa, not across three Saturdays of showrooms.
