The splashback is the band between worktop and wall units, usually 55-60 cm high. Porcelain stoneware is the material that handles it best: it doesn’t absorb oil, doesn’t fear the heat of the hob or the steam, and cleans up with degreaser without wearing out. The weak point isn’t the tile but the grout: cementitious grout stains, epoxy doesn’t. And it’s often laid straight over the old tiles, without demolition.
The splashback is the most abused square metre in the house: oil splashes at 180 degrees, simmering sauce, steam twice a day, degreaser every evening. It’s also the most looked at — it sits exactly at eye level for whoever cooks and whoever sits at the counter. The wrong material here means permanent smears or panels to replace after five years. Let’s see why tiles remain the most solid answer, and how to choose without regrets.
What a splashback is (and how big it is)
Two measurements to take before any decision: the length of the fitted wall and the actual height between your worktop and your wall units (60 cm is a standard, not a certainty — made-to-measure kitchens drift by a few centimetres). From there comes the square-metre count which, as you’ll see, is surprisingly small.
Tiles, glass or laminate: the honest comparison
| Material | Oil and stains | Hob heat | Scratches and knocks | Weak point |
|---|---|---|---|---|
| Porcelain stoneware | doesn’t absorb | no problem | highly resistant | the grout lines (if cementitious) |
| Back-painted toughened glass | doesn’t absorb | fine (if toughened) | scratches and shows every drop | cost, visible fingerprints |
| Laminate/HPL continuing from the worktop | fine | suffers behind gas burners | medium | edges and joins swell with steam |
| Washable paint | absorbs hot splashes | yellows | — | a temporary fix, not a splashback |
| Marble/natural stone | absorbs oil | fine | fine | oil penetrates, treatments needed |
The reading is quick: glass is beautiful but touchy (every fingerprint shows, every scratch stays), laminate fears exactly the two things a splashback meets daily — heat and steam —, natural stone drinks the oil. Porcelain has no weak points of its own: its Achilles’ heel lies between one tile and the next, and it’s solved at installation time.
The grout: the real critical point (and how to close it)
Let’s say it plainly, because it’s the one real flaw of the tiled solution: cementitious grout behind the hob stains. It’s porous, hot oil soaks in, and after a couple of years the white lines turn amber. Two defences, in order of effectiveness:
- Epoxy grout. Waterproof, stain-proof, cleans like the tile itself. It costs more to install (the material is tricky to work) but on a splashback we’re talking about a few square metres: it’s the right expense in the right place.
- Fewer joints. Larger formats = fewer exposed lines. A 60×120 laid horizontally covers a 60 cm band with a single tile in height: grout lines cut to the bare minimum.
On colour, the logic is the same as for floors — we covered it in our guide to grout colour: tone-on-tone to disappear, contrasting only if the installation is impeccable and the small format is a style statement.
Which porcelain to choose: three routes that work
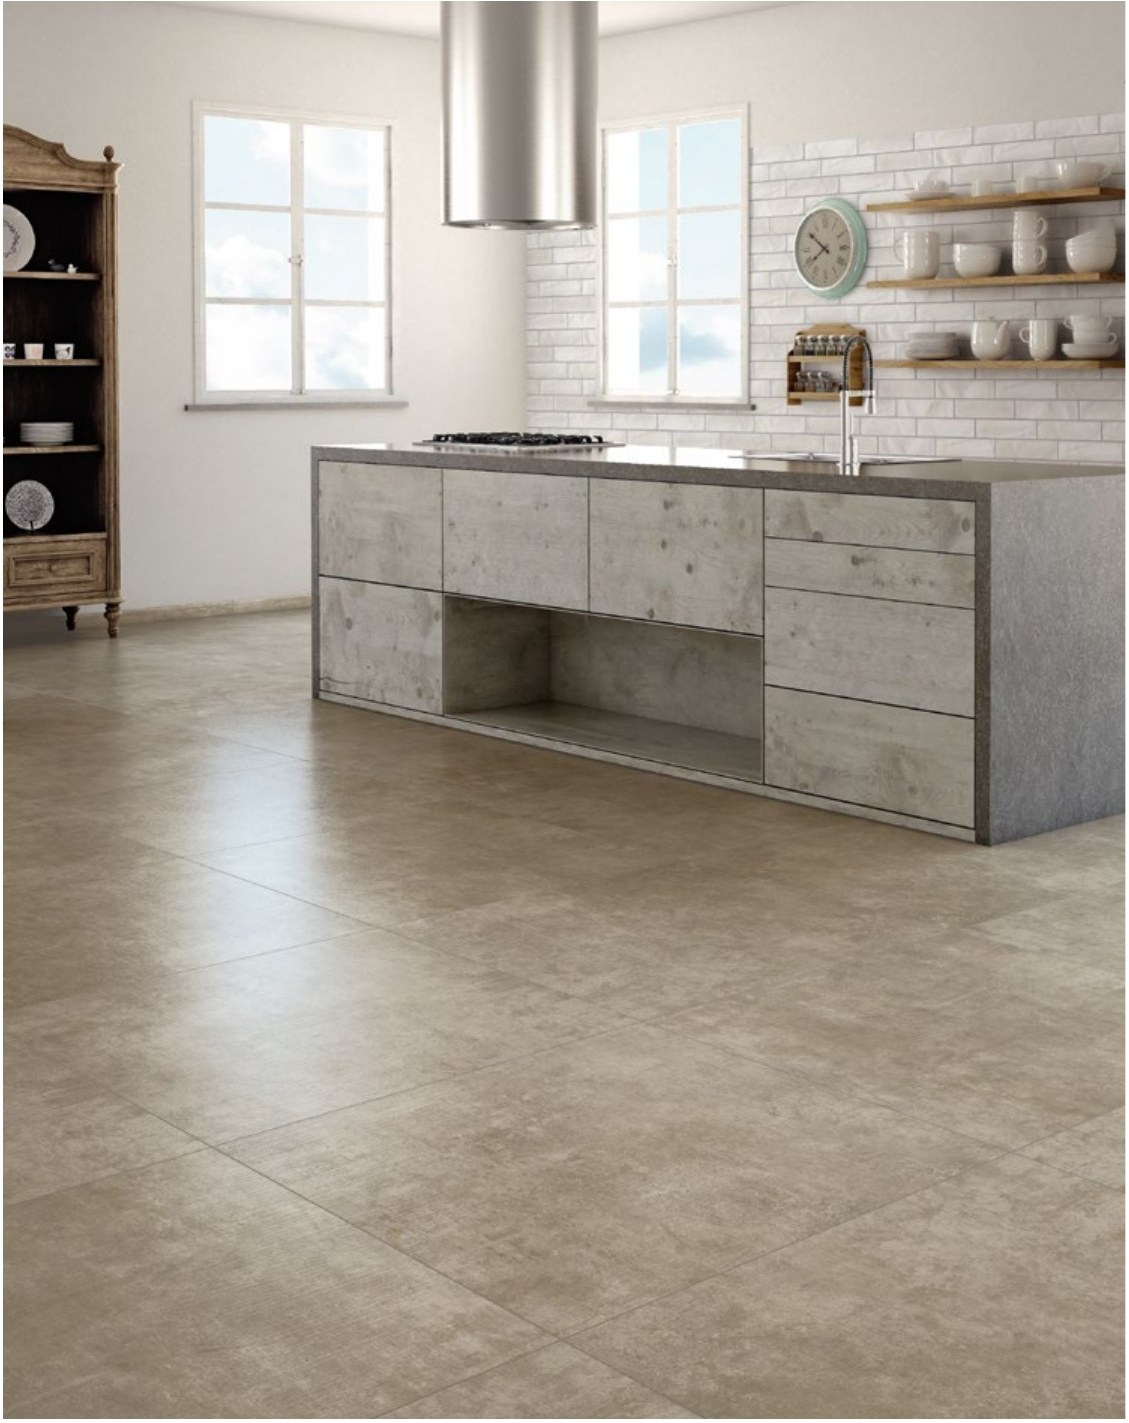
- A single horizontal slab (60×120 or larger). The contemporary splashback: marble or stone effect in visual continuity, zero interruptions. It looks superb with flat-fronted kitchens and compact worktops.
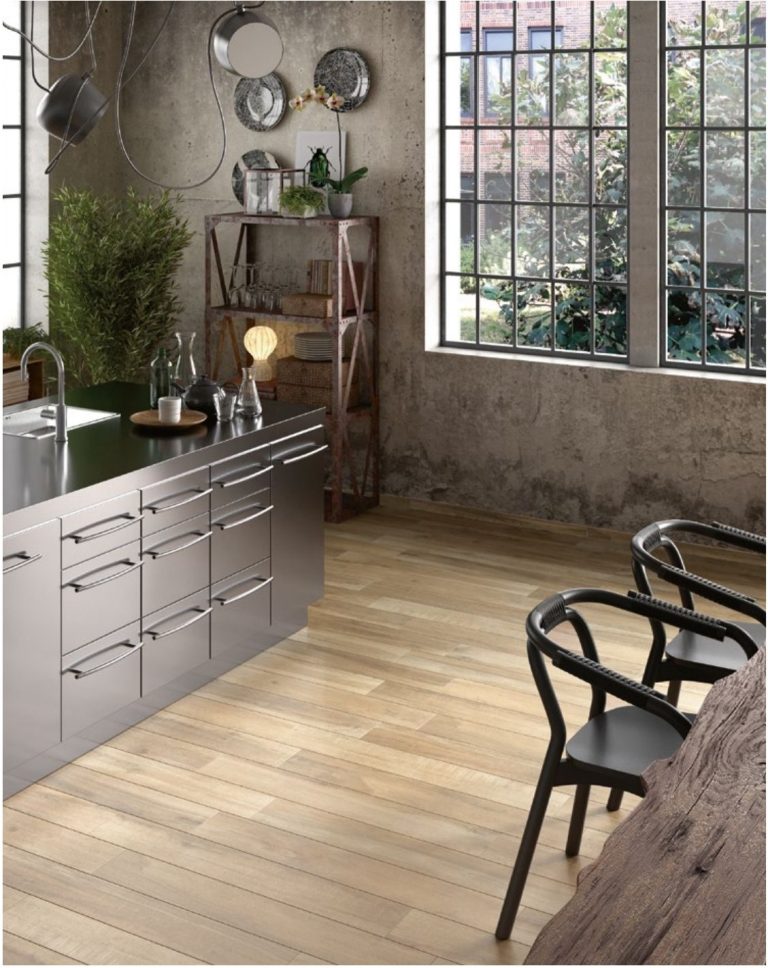
- Concrete or metal effect. The industrial register: perfect with open-plan kitchens, wooden shelves and steel. Our concrete-effect porcelain plays at home here; the metal effect delivers the character without real steel’s problems (it scratches and dulls).
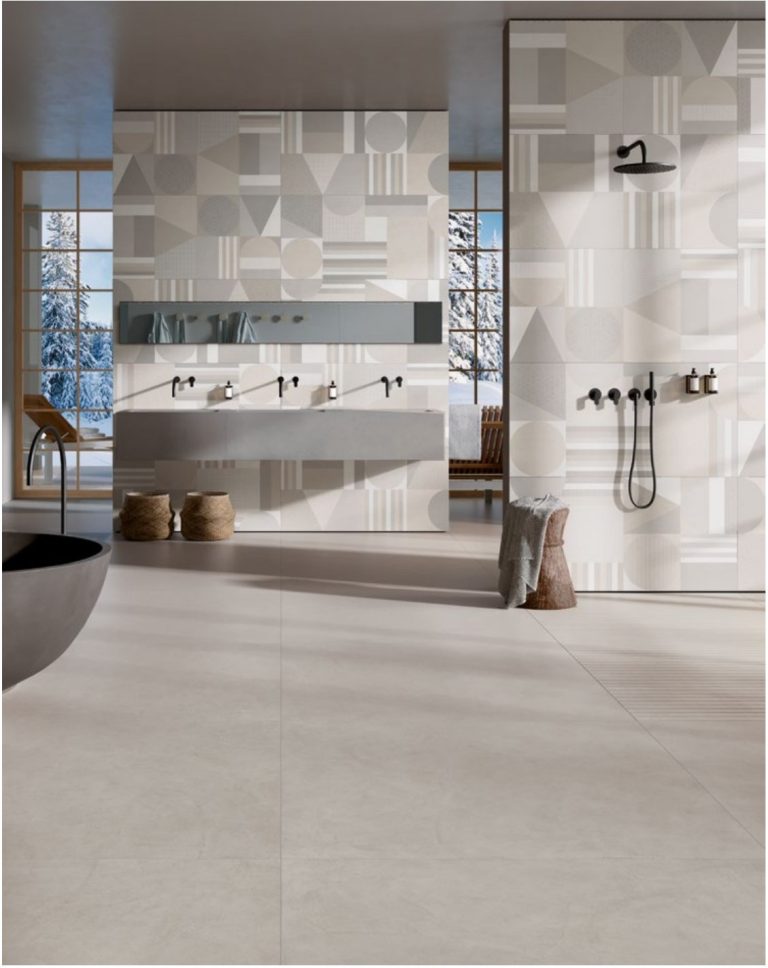
- Small formats and decors. The splashback as a jewel: small tiles, geometric decors and mosaics from the decors category. More joints (the epoxy point returns), but a character no slab can give.
One criterion that cuts across all three: a smooth finish, not structured. Textured outdoor surfaces trap grease in their micro-roughness: on a splashback you want a surface the degreaser can sweep without obstacles. And degreaser, on porcelain, can be used daily without wearing anything out: glaze and alkaline cleaners get along perfectly.
Installation without demolition: over the old tiles
The splashback is the perfect case for overlaying: a small, vertical surface, almost always with well-anchored 1990s tiles underneath. Bonding primer, C2 adhesive, and the new covering goes over the old without touching cabinets or walls — often in a single day’s work. The checks to run beforehand (tapping, flatness) are the same as for floors: you’ll find them in our guide to tiling over an existing floor. One splashback-specific warning: check that the extra centimetre of thickness doesn’t interfere with the socket outlets, which will need bringing flush with spacer rings.
The back-of-envelope sum: what a porcelain splashback costs
Typical kitchen: 3 linear metres of fitted wall, a 60 cm band. Surface: 3 × 0.6 = 1.8 m². With wastage at 15% (proportionally many cuts: sockets, corners, end of run) you need 2.07 m² → in practice, 2 boxes in most formats.
- Material: 2 boxes ≈ 2.9 m² × 29.90 €/m² incl. VAT = 86.71 € (with a few spare pieces left over, which is always wise to keep).
- Installation with epoxy grout: a tiler’s minimum job, indicatively 150-250 € all in.
- Total: around 250-350 € for the most bombarded square metre in the house. For comparison: a made-to-measure back-painted glass panel for the same wall rarely comes in under 500-600 €.
To turn your metres into boxes without errors there’s the guide to calculating boxes and wastage — or the automatic calculator on every product page.
Where to start
- Measure your band: length of the working area × worktop-to-units height. It’s the number that makes everything concrete.
- Choose the register: continuous slab, industrial, or decor. With doors and worktop in the same photo, the right candidate emerges on its own.
- Order 2-3 samples (5 €, refunded on your first order) and stand them on the worktop, under your kitchen’s real light: that’s where they have to win you over.
In the wall tiles category you’ll find all the candidates with prices per m² incl. VAT. A doubt about pairing with your worktop? Send us a photo of the kitchen: we’ll answer on that, not in the abstract.