No regulation dictates a tiling height for private bathrooms: water is in charge. In the shower you always tile up to 220-240 cm or to the ceiling; behind basin and bath 120-140 cm is enough; on dry walls you can skip tiling altogether. The three classic heights — 120, 200-210, ceiling — come from format multiples: choose the one that lands on whole courses of your tile and you save cuts and money.
It’s the question that stalls the bathroom project on day two: “how far up do the tiles go?”. The tiler wants a height, you have three Pinterest bathrooms in mind, all different, and when in doubt the traditional answer — “two metres everywhere” — is almost never the right one: usually too much where it’s not needed and too little where it is. Let’s bring order with the only criterion that counts, plus a tiler’s trick that saves you money invisibly.
The first truth: there is no rule
Let’s clear the field: no national law fixes the tiling height in private bathrooms. Local building and health regulations generally require walls “covered with washable, waterproof material in areas exposed to water”, sometimes quoting a minimum height (often 180 cm in public shower rooms), but for your own home the choice is a design one, not a regulatory one. The real criterion is a single question: where does the water reach — and in what form. Direct splashes, steam or nothing: three levels of exposure, three different answers.
The three classic heights compared
| Height | Where it makes sense | Pros | Cons |
|---|---|---|---|
| 120 cm (half height) | basin, bath, WC/bidet walls; classic bathrooms | economical, leaves room for paint, easy to match | insufficient in the shower; the top edge needs a trim profile |
| 200-210 cm (door height) | the whole bathroom, traditional style | aligned with door frames, protects almost everything | stops the eye below the ceiling; still too low in the shower if the head is high |
| To the ceiling (270 cm) | shower always; the whole bathroom in contemporary projects | maximum protection, monolithic effect, taller-looking room | costs more: more m², more installation |
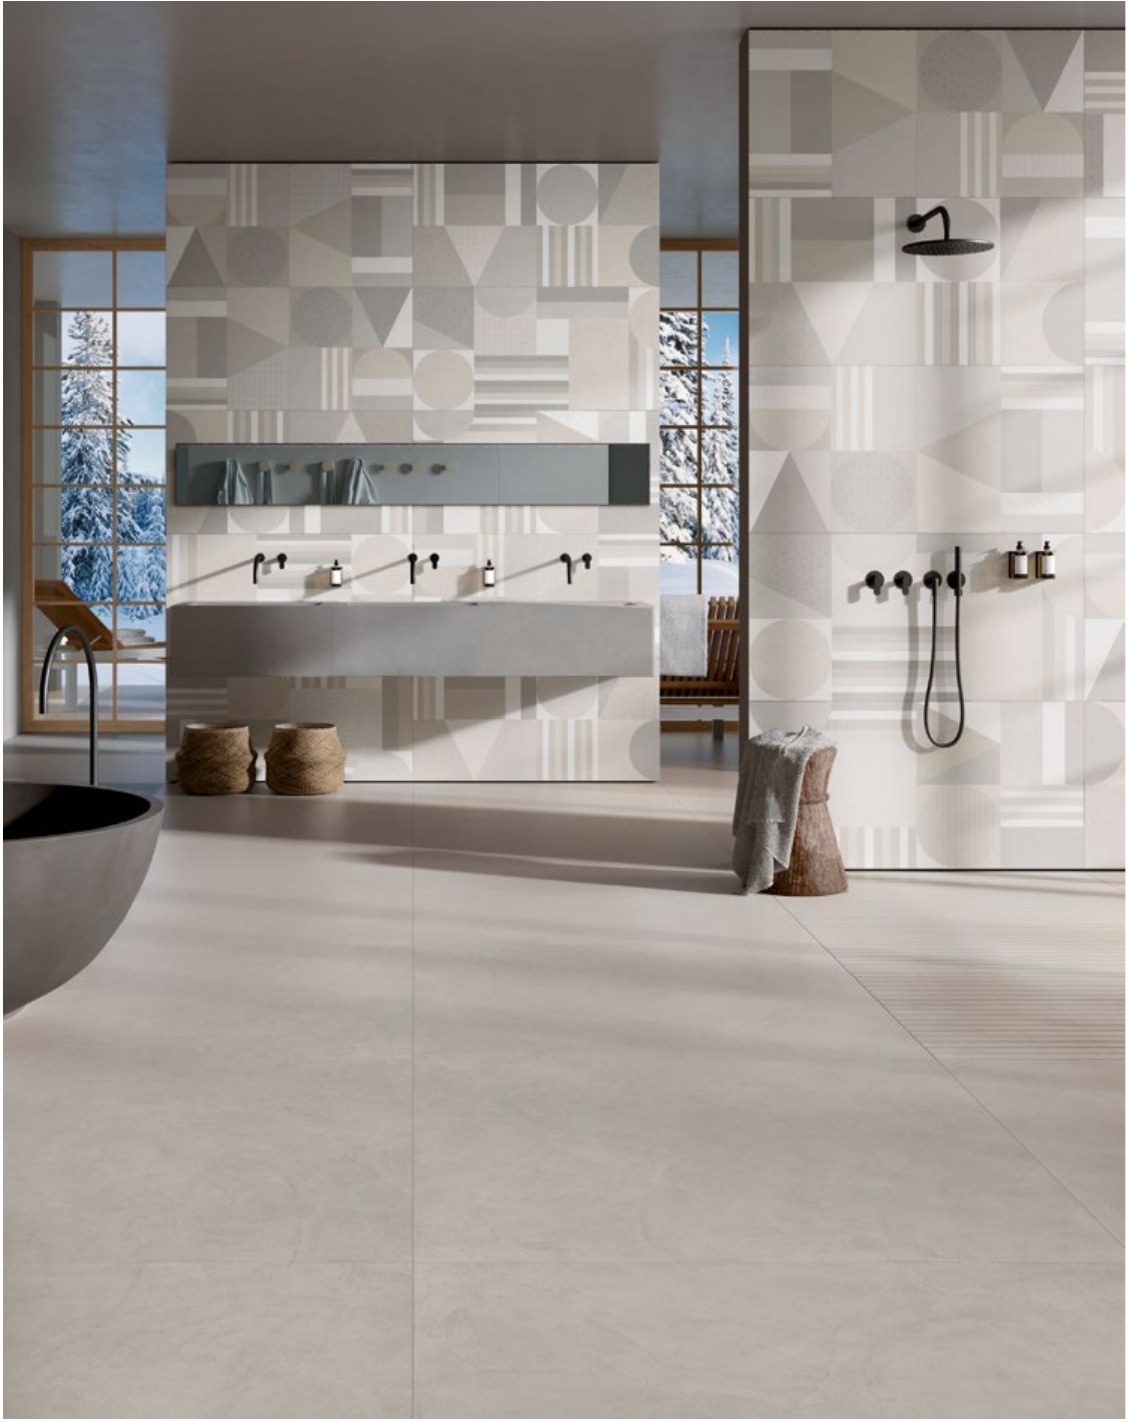
The current trend is clear: either everything (bathroom fully tiled to the ceiling, a very elegant “box” effect with large formats) or targeted (only the wet zone at full height, paint everywhere else). The historic middle way of 2 metres everywhere is the one that ages worst.
Zone by zone: the water rule applied
- Shower: to the ceiling, or nearly. The technical minimum is 20 cm above the shower head: with modern heads mounted at 200-210 cm, that means at least 220-240. At that point, the 30-50 cm missing to the ceiling cost little and remove the unsightly edge inside the shower: close it to the ceiling. Steam, in there, reaches everywhere.
- Bath: 60 cm above the rim if it’s bath only (splashes), to the ceiling if there’s a shower over it.
- Basin: 30-40 cm above the taps is enough: the canonical 120 cm from the floor covers it with margin. The classic bathroom “splash zone”.
- WC and bidet: 120 cm is more than enough; here the tile serves cleaning, not water.
- Free walls: zero obligation. A good paint for humid rooms (breathable, anti-mould) works perfectly well — we say this against our own interest as tile sellers: covering a wall that never sees water in porcelain is a legitimate aesthetic choice, not a technical necessity.
The multiples trick: choose the height from the format
Here’s the tiler’s detail that renders never show: the right height is the one that lands on whole courses of tile. A thin horizontal cut at the top of the tiling — the 7 cm sliver that appears when the height doesn’t add up — is the trademark of the improvised bathroom, and it’s avoided at the drawing board:
- With a 30×60 laid horizontally: 4 courses = 120 cm, 7 courses = 210 cm. The classic heights are born here.
- With a 60×120 laid vertically: one course = 120 cm, two courses = 240 cm — the perfect height to close the shower above the head without cuts.
- Grout joints add 2-3 mm per course: over 7 courses that’s 1.5-2 cm, to be factored in if you must land exactly at door height.
The vertical format also has an optical effect: it stretches the wall upwards. In a low bathroom, a 60×120 laid vertically at full height is visually worth an extra 20 cm of ceiling — the same principle as large formats in small rooms.
The m² (and money) sums: a worked example
Typical bathroom 2.0 × 2.5 m, height 270 cm, door 80×210, shower 80×120 in a recess. Perimeter: (2.0 + 2.5) × 2 = 9 linear metres. Let’s compare two strategies:
- Everything to the ceiling: 9 m × 2.7 m = 24.3 m², minus door (1.7 m²) and window (0.5 m²) = 22.1 m². With 10% wastage: 24.3 m² of material × 29.90 €/m² incl. VAT = 726.57 €; installation 22.1 × 40 € = 884 €. Total ≈ 1,611 €.
- Targeted strategy (shower to the ceiling, the rest at 120 cm): shower zone 2.0 linear m × 2.7 m = 5.4 m²; rest of the perimeter 7 m × 1.2 m = 8.4 m², minus the lower part of the door (1.0 m²) = 7.4 m². Total 12.8 m². Material with wastage: 14.1 m² × 29.90 € = 421.59 €; installation 12.8 × 40 € = 512 €; anti-mould paint for the rest ≈ 150 €. Total ≈ 1,084 €.
Difference: about 530 € — not huge, which is why the choice remains mostly aesthetic: if the bathroom you dream of is the monolithic box in marble effect up to the ceiling, the 530 € are well spent; if you prefer the tile+colour interplay, the targeted strategy is impeccable technically too. To turn your m² into boxes (bearing in mind that wall tiling generates more wastage due to cuts around doors and windows) there’s the guide to calculating boxes and wastage.
And above the tiles? Finishing the edge well
If you don’t reach the ceiling, the top edge needs finishing: the three solutions are an aluminium or steel trim profile (clean and contemporary), a glazed-edge tile where the collection offers one, or a flush plaster reveal (the plasterer brings the plaster out to the tile’s thickness: an invisible edge, to be decided beforehand). Above, always paint for humid rooms: washable, breathable, anti-mould. One last coherence tip: choose the paint colour after receiving the tiles, sample in hand — porcelain whites come in dozens, and “the white that looked the same” is the classic finished-bathroom regret.
Where to start
- Draw the water rule onto your bathroom: mark shower, bath, basin and assign each wall its height. Five minutes, pencil and tape measure.
- Check the multiples of the format you like: the final height must land on a whole course, joints included.
- Order samples (5 €, refunded on your first order) and decide paint and grout with the actual tile in hand.
All the wall coverings are in the wall tiles category, priced per m² incl. VAT. Send us your bathroom’s measurements and we’ll do the course count together before you order: it’s the kind of check that costs nothing and saves projects.